
Starting a Flight
Thorium differentiates Flights from simulators. A flight represents a single, self-contained instance of a simulator. Flights can be paused, resumed, and removed entirely.
Creating a flight is simple:
-
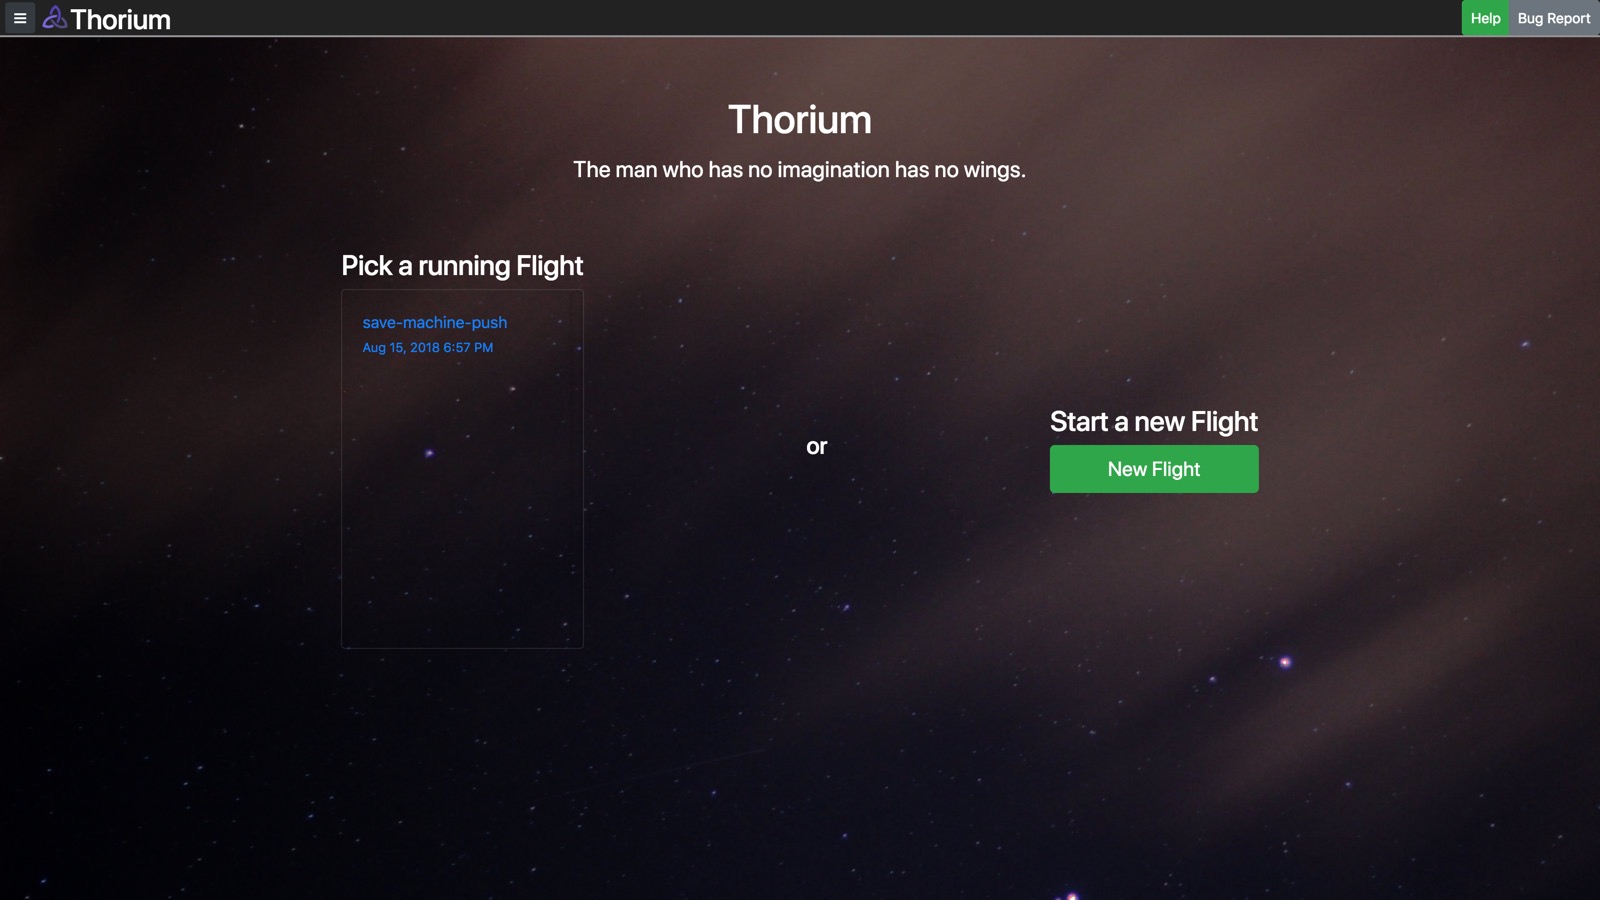
Click the green 'New Flight' button.
-
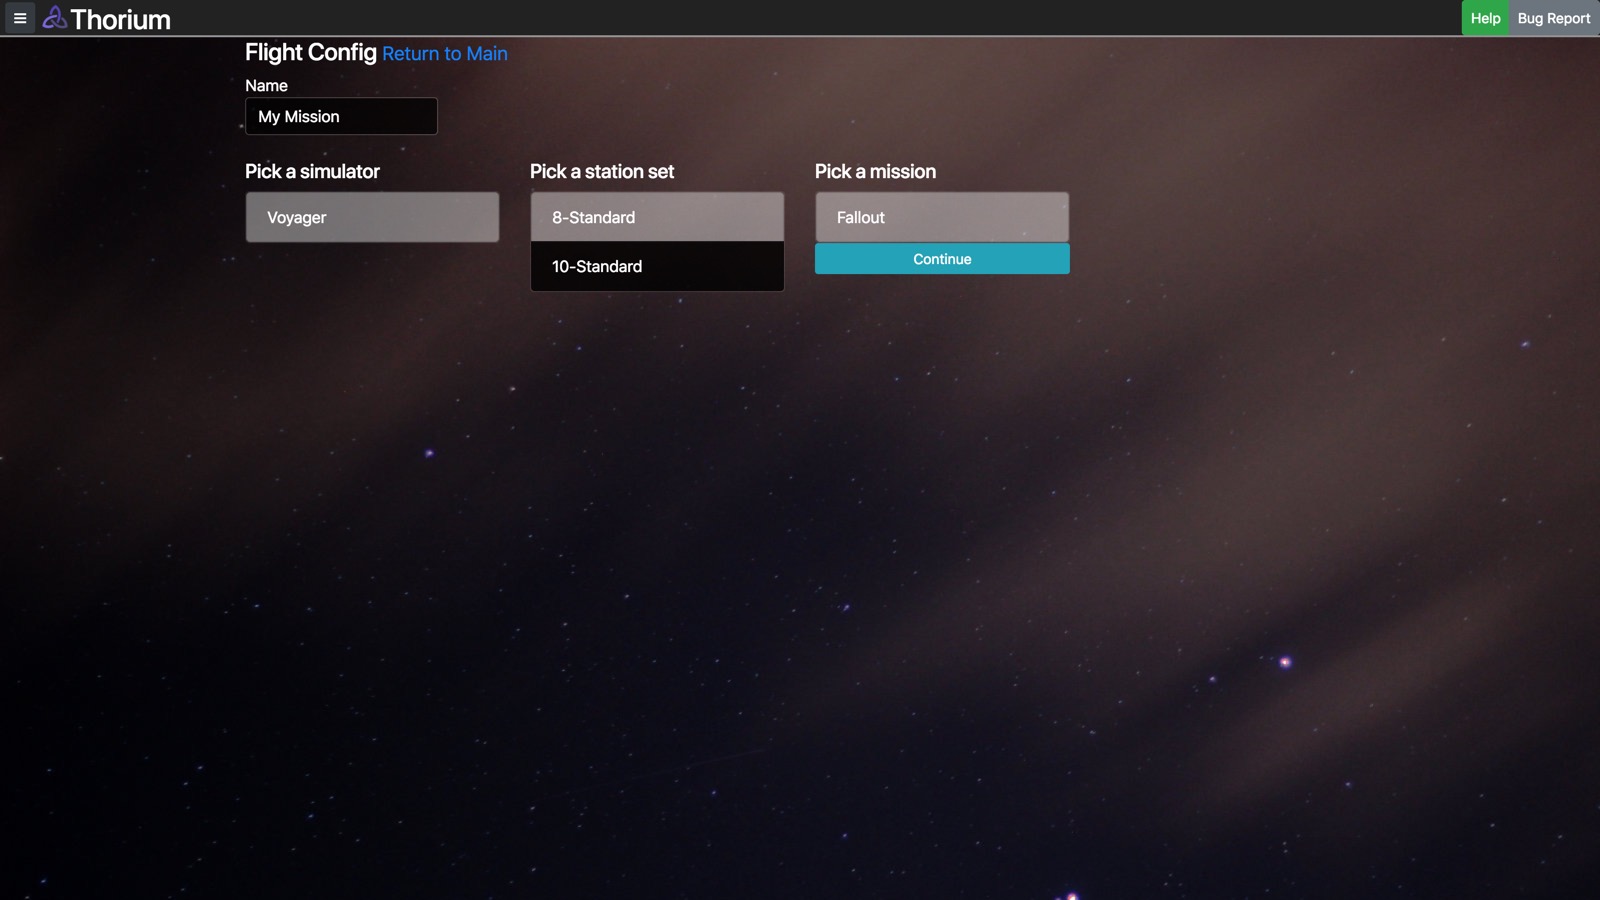
Change the name of the flight, if desired.
-
Pick a simulator.
-
Pick a station set for that simulator.
-
Pick a mission for that simulator or click 'Skip'.
-
Repeat 3 - 5 for any other simulators in the flight if you are doing a joint flight.
-
Click 'Start Flight' to initialize the flight and simulators.
Adding Clients to the Flight
Each computer that you are planning on using as a crew station needs to connect to Thorium. You can use any modern web browser with Thorium, although Google Chrome is recommended. The link to connect to Thorium is shown on the command prompt when you first start up Thorium:
Client Server is now running on http://192.168.1.4:1337/client
The IP address of the computer running Thorium would be shown in place of the IP address above. Type that URL into the web browser of your client and the client page should load.
Clicking on the Thorium logo will show more information.
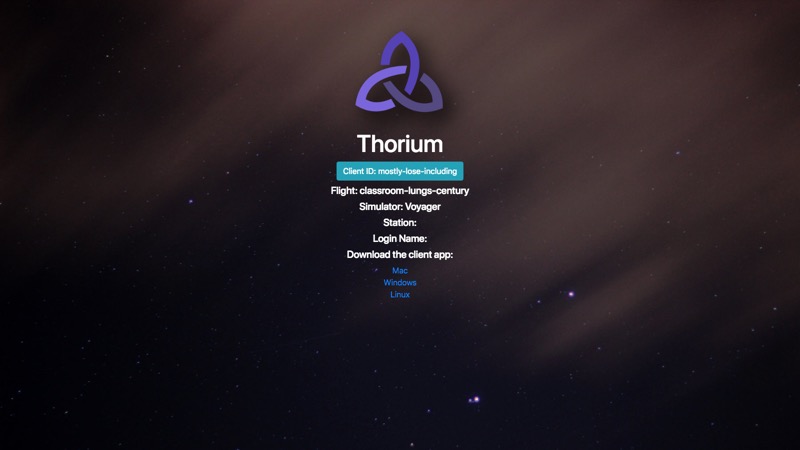
On this screen, you can download a standalone client which will automatically connect to Thorium Server, lock the screen so the controls window cannot be closed, and provide additional flight director control, such as shutting down the computer. Learn more about the Thorium Client here.
The blue button shows the client ID of this particular client. This is a unique, randomly generated name assigned to the client when it first connects. You can change the client ID by clicking on the blue button. This might be handy if you wanted a more descriptive name for the client.
Assigning Clients to the Flight
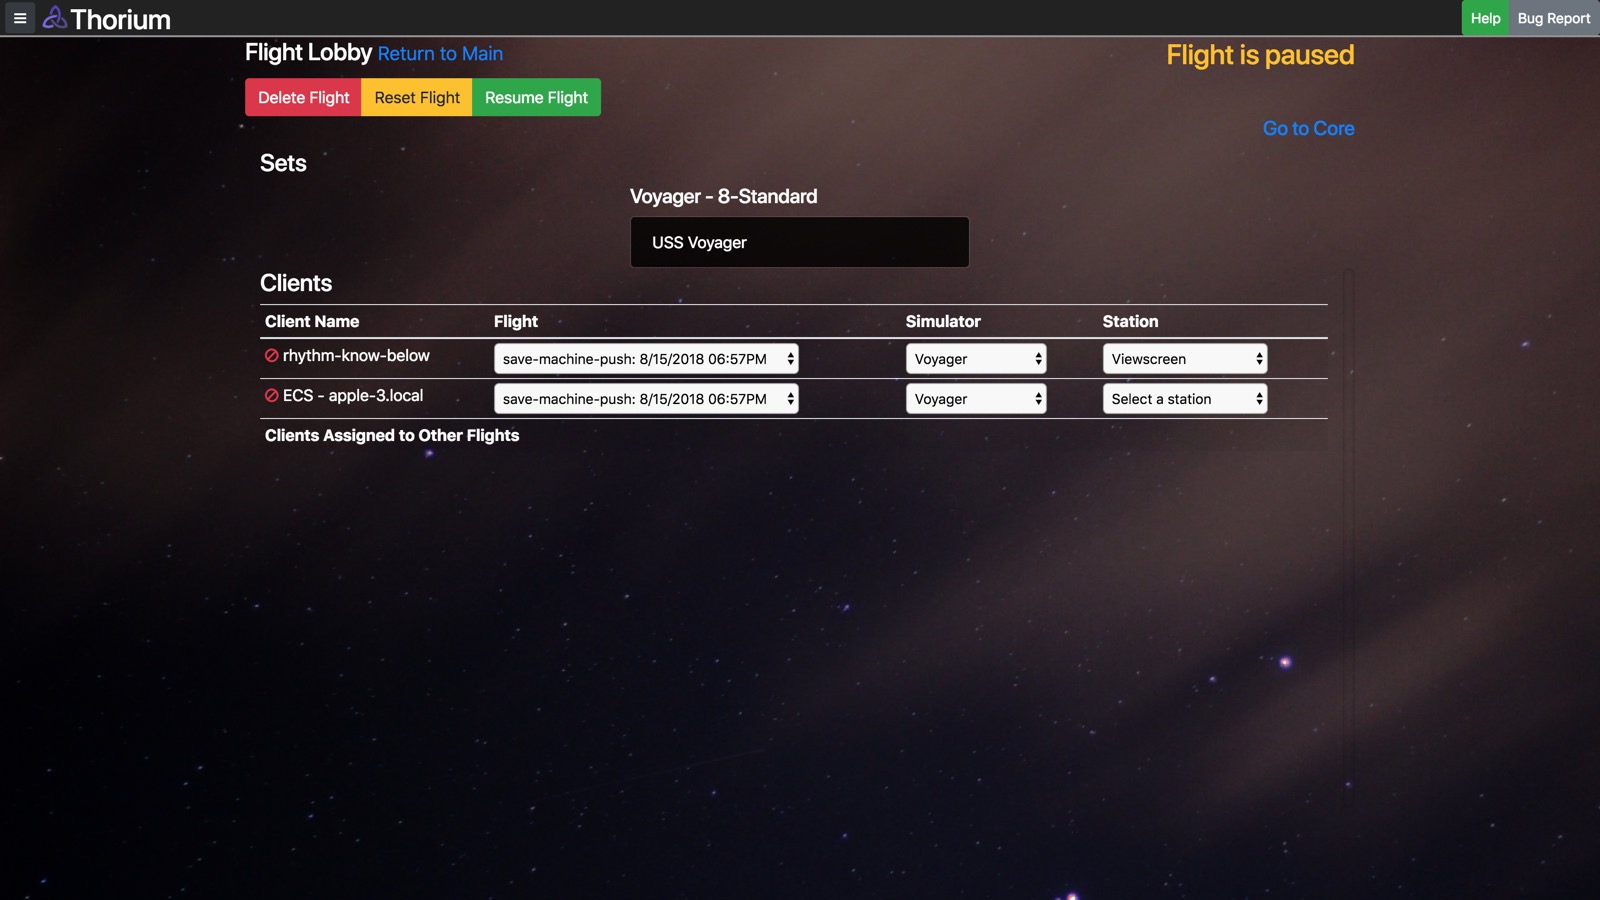
Once clients have been connected, they will appear in the client lobby. To use the stations for a flight, you must assign clients to the flight and simulator. You can do this manually for each client by choosing the flight name from the first dropdown, the simulator from the second dropdown, and the station from the third dropdown.
Note: Clients that are already assigned to a flight will not appear on the client list for a different flight. Remove it from the other flight before assigning it to a new flight.
You can also configure the clients with a pre-defined client set. A client set is a connection between clients and a specific simulator, station set, and station. It allows you to automatically configure all of the clients to be set to the correct station in one click. This is done simply by clicking the name of the set from the list above. This conveniently re-names the simulator to be the same name as the set itself. Learn about how to configure a set here.
Once assigned to a station, the client will start up. You can click 'Go to Core' to access the core for this flight.
If you selected multiple simulators, you'll be able to choose which simulator you want to access the core for.